I killed my first pothos by repotting it wrong. Sounds dramatic, but it's true—I shoved it into a huge pot with garden soil, watered it like crazy, and watched it wilt in days. Pothos (Epipremnum aureum) are tough, but they have subtle needs when moving homes. If you're seeing slow growth or roots peeking out, it's time to repot. This guide walks you through everything, from spotting the signs to post-repot care, with tips I've picked up over a decade of keeping these plants alive.
Jump to What Matters
Signs Your Pothos Needs Repotting
Pothos don't scream for help—they give quiet hints. Look for these telltale signs:
- Roots escaping drainage holes: This is the classic sign. If you see white or tan roots poking out, the plant is cramped.
- Water runs straight through: When you water, it drains instantly without soaking in. That means roots have taken over the soil.
- Stunted growth: No new leaves for months, even in growing season. I had a pothos that stopped growing for a year; repotting sparked a vine explosion.
- Soil dries too fast: You're watering every few days because the soil can't hold moisture. Root mass is displacing the potting mix.
Don't wait until leaves yellow or drop. By then, the plant is stressed. A quick check: gently tip the pot and look at the root ball. If it's a tight, tangled mess, it's time.
When to Repot Pothos for Success
Timing matters more than you think. Spring and early summer are ideal—pothos are actively growing and can recover fast. Avoid winter unless you're in a warm climate; dormant plants struggle with change.
Pro tip: If you must repot in fall, do it indoors where temperatures are stable. I once repotted in late autumn, and the plant took three months to perk up. Lesson learned.
Some guides say repot every 1-2 years, but it depends on growth. Fast-growing pothos in bright light might need it yearly. In low light, stretch it to 2-3 years. Watch the signs, not the calendar.
Tools and Materials You'll Need
Gather these before starting. You don't need fancy gear—most items are household basics.
| Item | Why It's Important | Budget-Friendly Option |
|---|---|---|
| New pot | Only 1-2 inches wider in diameter than the old one. Too big leads to overwatering. | Recycled plastic pot with drainage holes. |
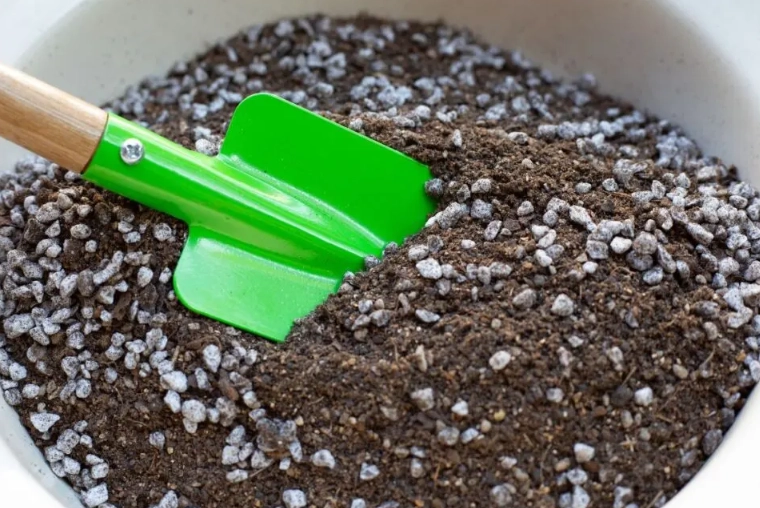
| Potting mix | Well-draining and airy. Pothos hate soggy roots. | DIY mix: 2 parts potting soil, 1 part perlite, 1 part orchid bark. |
| Gloves | Optional, but keeps hands clean and protects from mild sap irritation. | Any garden or disposable gloves. |
| Pruning shears or scissors | For trimming dead roots or stems. | Clean kitchen scissors work fine. |
| Watering can | To settle the soil after repotting. | A cup or jug with a spout. |
I skip fertilizers at this stage—they can burn new roots. Wait a month before feeding.
Step-by-Step Repotting Process
Follow these steps slowly. Rushing causes damage.
Step 1: Prepare the New Pot and Soil
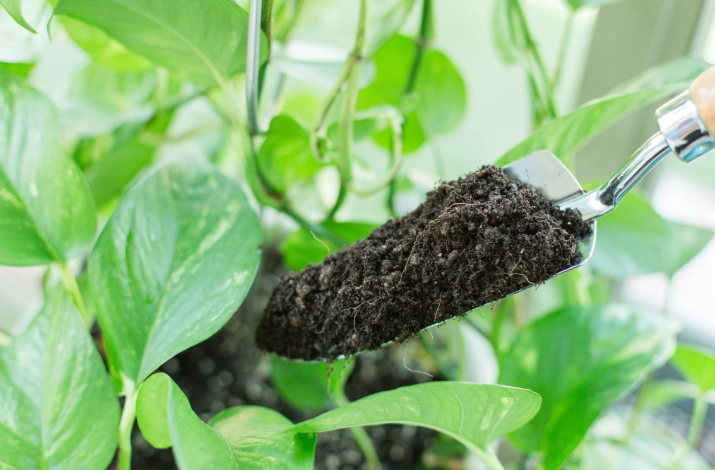
Choose a pot with drainage holes. No exceptions—I've lost plants to decorative pots without holes. Add a layer of fresh potting mix at the bottom, about an inch deep. Moist the mix lightly; not soaking wet, just damp to the touch. This helps reduce shock.
Step 2: Remove the Plant Gently
Water the pothos a day before to loosen the soil. Tilt the pot and squeeze the sides. If it's stuck, run a knife around the edge. Don't pull the stems—you might break roots. I once tugged too hard and snapped a major root; the plant drooped for weeks.
Step 3: Inspect and Prune the Roots
Shake off old soil gently. Look for dark, mushy roots (rot) or circling ones. Snip these with clean scissors. Healthy roots are firm and white. You don't need to prune much—just enough to untangle. Some guides recommend washing roots, but I avoid it; it strips beneficial microbes.
Step 4: Plant in the New Pot
Place the root ball in the center. Fill around with soil, pressing lightly to remove air pockets. Leave about an inch of space from the rim for watering. Water thoroughly until it drains out the bottom—this settles the soil. If the soil sinks, add more.
Here's a visual trick: the soil level should match the old one on the stem. Burying stems deeper can cause rot.
Aftercare for a Smooth Transition
Post-repot care is where many fail. Your pothos needs TLC but not coddling.
- Light: Place in bright, indirect light for a week. No direct sun—it's stressful. I move mine to a north-facing window.
- Watering: Water only when the top inch of soil is dry. Overwatering is the top killer after repotting. Stick your finger in to check.
- Fertilizing: Hold off for 4-6 weeks. Let roots establish first. Then, use a balanced liquid fertilizer at half strength.
- Monitoring: Some leaf drop or wilting is normal. If it persists beyond two weeks, check for root issues or adjust light.
I've found that misting leaves lightly can reduce stress, but don't overdo it—pothos aren't humidity hogs.
Common Mistakes and How to Avoid Them
From my experience, here are pitfalls to dodge:
- Using a pot too large: Big pots hold excess water, leading to root rot. Stick to a slight size increase.
- Wrong soil type: Heavy soil suffocates roots. Always add perlite or bark for drainage. The Royal Horticultural Society notes that aroid mixes work well for pothos.
- Repotting during flowering: Pothos rarely flower indoors, but if they do, wait. Energy is diverted to blooms, not root growth.
- Ignoring root health: If you see rot, treat it with a hydrogen peroxide mix (1 part 3% peroxide to 3 parts water) before repotting.
One subtle error: repotting when the plant is stressed from pests or disease. Fix those issues first.
Your Repotting Questions Answered
Repotting pothos isn't rocket science, but attention to detail makes all the difference. Start with the right timing, handle roots with care, and give them a gentle transition. Your plant will reward you with vigorous growth and trailing vines. If you hit a snag, don't panic—pothos are resilient. Just adjust and learn. Happy repotting!
Comments