You've got a healthy aloe vera plant, and now you want more. Maybe a friend asked for a piece, or you just love the idea of free plants. Rooting aloe vera is one of the easiest propagation projects you can tackle, but it's also where most people make a few critical mistakes that turn their cuttings into mush. I've killed my share of aloe pups before figuring out the subtle details that make all the difference. This guide isn't just about sticking a leaf in soil; it's about understanding why each step matters, so you can multiply your aloe collection with confidence.
What You'll Learn in This Guide
Let's clear something up first. When we talk about "rooting aloe vera," we're usually referring to one of three things: separating the baby plants (pups) that grow from the mother, trying to root a cut leaf, or the trendy method of rooting in water. The success rate and difficulty vary wildly between them.
Method 1: Separating Aloe Vera Pups (The Foolproof Way)
This is by far the best method for beginners. A "pup" or "offset" is a complete miniature plant that grows from the base of the mother aloe. It already has its own beginnings of a root system. Your job is to gently detach it and help it grow independently.
Step-by-Step: How to Separate and Pot Aloe Pups
Wait for the right size. This is the first mistake. A pup should be at least one-fifth the size of the mother plant, or about 3-4 inches tall. If it's too small, it hasn't developed enough energy stores to survive on its own.
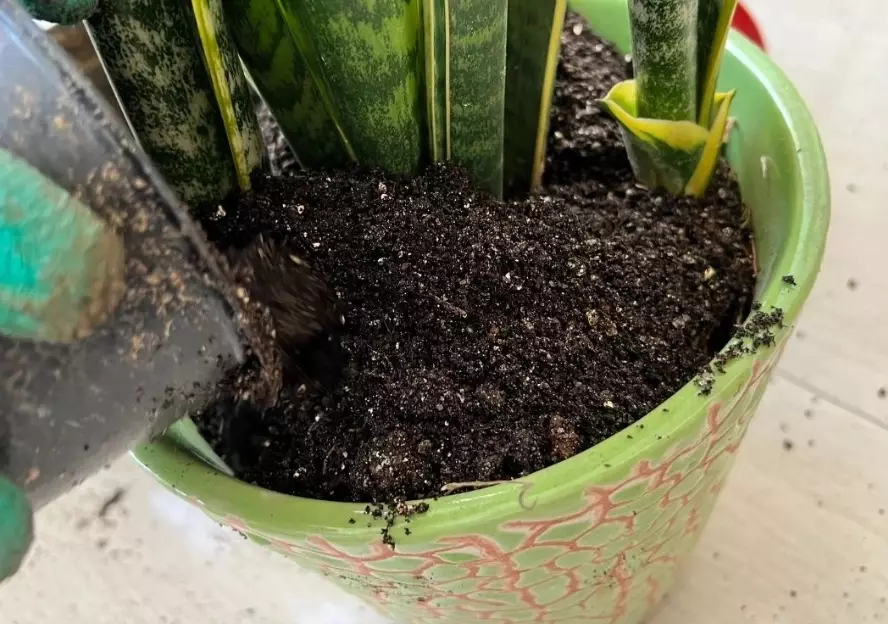
Prepare your tools and pot. You'll need a clean, sharp knife or garden snips. Wipe the blade with rubbing alcohol. Have a pot with drainage holes ready, filled with a fast-draining succulent or cactus mix. Don't use regular potting soil—it holds too much moisture. A terra cotta pot is ideal because it breathes.
Unpot the mother plant. Gently tip the whole plant out of its pot. Brush away soil from the base so you can see where the pup connects to the mother. Sometimes you can twist the pup off with your hands. If it's firmly attached, use your sterilized knife to make a clean cut, ensuring the pup takes a bit of its own stem and any visible roots with it.
Pro Tip I Learned the Hard Way: Let the pup's wound callus over before planting. After separation, set the pup in a shady, dry spot for 1-2 days. This allows the cut end to dry and form a seal, which is your primary defense against rot when it goes into damp soil. Skipping this step is like putting a bandage on a wet wound.
Planting. Make a small hole in your pre-moistened potting mix. Place the pup in, burying it just deep enough to stand upright. Don't bury the leaves. You might need to prop it up with some small stones for a week until roots anchor it.
The initial wait. Do not water it for the first week. The existing moisture in the soil and the pup's own water reserves are enough. After a week, give it a light watering. Place it in bright, indirect light (no harsh sun yet). In 2-4 weeks, it should establish roots. You'll know it's working when you feel slight resistance if you give the plant a very gentle tug.
Method 2: Rooting a Single Aloe Vera Leaf Cutting
This method has a much lower success rate than using pups. Why? An aloe leaf is mostly water-storing tissue, not designed to generate new growth points. It wants to heal and seal, not create roots. But it can be done with precision.
Why Leaf Cuttings Often Fail
People cut a leaf, stick it in soil, water it, and watch it turn into a brown, soggy mess. The leaf rots from the cut end upwards because it was planted before callusing, or because the soil was kept too wet. The leaf has no meristematic tissue (growth cells) at its base like a stem cutting would.
Here's the meticulous process that improves your odds:
- Choose a thick, healthy outer leaf. Use a sterile knife and cut as close to the main stem as possible for a clean break.
- Lay the leaf on a paper towel in a warm, dry, shaded place. Let it dry for at least 5-7 days, maybe longer. The cut end should look completely dry, shriveled, and sealed over. This can take up to two weeks in humid climates. Patience is non-negotiable.
- Prepare a shallow tray or pot with your succulent mix. Do not bury the leaf. Instead, place the callused end just on top of the soil, or barely nestled into the surface. You can use small stones or stakes to hold it in place.
- Mist the soil around the leaf very lightly every few days, only enough to dampen the top layer. The goal is to encourage roots to seek out moisture without wetting the leaf itself.
If you're lucky, in a month or two, you might see tiny white or pink roots emerging from the callus. Only then should you consider planting it slightly deeper and beginning a cautious watering routine. A new pup may eventually sprout from the base, but this is a slow process measured in months.
Method 3: The Water Propagation Experiment
You'll see stunning photos online of aloe leaves suspended in water, with a nest of white roots growing. This method is controversial. Aloes are desert succulents prone to rot in consistently wet conditions. Water propagation creates a high-humidity environment right at the vulnerable cut.
If you want to try it for science, here's how to minimize risk:
Take your leaf cutting and let it callus completely for a full week, just like for soil propagation. This step is even more critical for water. Use a narrow glass or jar so you can suspend the leaf with only the very bottom 1/4 inch touching the water. Change the water every 3-4 days to keep it fresh and oxygenated. Keep it in bright, indirect light.
The advantage? You can see the roots form. The huge disadvantage? The roots that grow in water are "water roots," different from "soil roots." They are more fragile. When you eventually transfer the cutting to soil, many of these roots may die off, shocking the plant. You must transition it to soil very carefully, keeping the soil slightly more moist than usual for the first two weeks.
Honestly, for long-term success, separating pups is less fuss.
The 3 Most Common Rooting Mistakes (And How to Fix Them)
After helping dozens of people troubleshoot their failed aloe propagations, these are the patterns I see.
Mistake 1: Overwatering before roots exist. A cutting or pup with no roots cannot absorb water. Wet soil just creates a pool for bacteria and fungi to attack the plant. Fix: Water only after signs of rooting (new growth, resistance to a gentle tug). Before that, lightly moist soil is plenty.
Mistake 2: Using the wrong soil. Dense, moisture-retentive soil is a death sentence. Fix: Use a commercial cactus/succulent mix. For extra insurance, make your own by mixing 2 parts potting soil with 1 part perlite and 1 part coarse sand.
Mistake 3: Insufficient light during recovery. A rooting plant needs energy, which comes from light. But harsh direct sun can scorch a vulnerable cutting. Fix: Provide bright, filtered light for at least 6-8 hours a day. An east-facing window is perfect.
What to Do After Your Aloe Has Roots
Once established, care is simple. Water deeply but infrequently—soak the soil completely, then let it dry out almost completely before watering again. In winter, this might mean watering only once a month. Give it plenty of light. A little morning sun or bright indirect light all day is ideal. Repot only when the plant becomes root-bound, typically every 2-3 years.


Comments