Let's be honest. You bought that gorgeous Ficus elastica, and now you're staring at it, thinking, "I need more of this in my life." Maybe you want a fuller pot, a gift for a friend, or just the sheer satisfaction of creating new life from a single leaf and stem. That's where rubber tree propagation comes in. It's not rocket science, but there's a gap between knowing you can do it and actually getting it right without the cuttings turning to mush. I've killed my share of cuttings learning this, so let's skip the heartache. This guide walks through the three reliable methods—stem cuttings, air layering, and soil propagation—with the nitty-gritty details most articles gloss over.
What's Inside This Guide
Gathering Your Propagation Toolkit
Before you make the first cut, get your stuff together. Using the wrong tool is mistake number one. A dull knife or dirty scissors will crush the stem and introduce bacteria, setting you up for failure before you even start.
You'll need:
- A sharp, sterilized blade: Pruning shears, a sharp knife, or even a new razor blade. Wipe it down with rubbing alcohol.
- Rooting hormone (powder or gel): This isn't strictly mandatory, but it's like an insurance policy. It encourages root growth and contains fungicides. I prefer the gel type—it sticks better to the cut.
- Your rooting medium: Choices matter here.
- For water: A clean glass or jar.
- For soil: A well-draining mix. I use a 50/50 blend of perlite and peat or coco coir. Don't use dense, moisture-retentive potting soil straight from the bag.
- For air layering: Sphagnum moss (soaked and squeezed out).
- Small pots with drainage holes.
- Clear plastic bags or propagation domes for humidity.
- Chopsticks or skewers to support your plastic bag tent.
Method 1: Stem Cuttings in Water or Soil
This is the classic approach. It's straightforward, but the devil is in the details. The biggest choice is water vs. soil. Let's break down both.
Taking the Perfect Cutting
Look for a healthy stem, preferably with 2-4 leaves. The stem should be semi-hardwood—not the soft, brand-new growth at the very top, and not the old, woody brown stem at the base. Something in the middle.
Make your cut just below a leaf node. That's the little bump on the stem where a leaf attaches. This node is where the roots will emerge. Cut at a 45-degree angle. This increases the surface area for rooting and prevents water from pooling on a flat cut surface. Your cutting should be 4-8 inches long.
Immediately after cutting, you'll see a milky white sap. This latex can seal the cut and inhibit rooting. Rinse it off under lukewarm water or dab it with a paper towel. Let the cut end callous over for an hour or two. This step is crucial—it helps prevent rot when you place it in water or soil.
Rooting in Water: The Visual Method
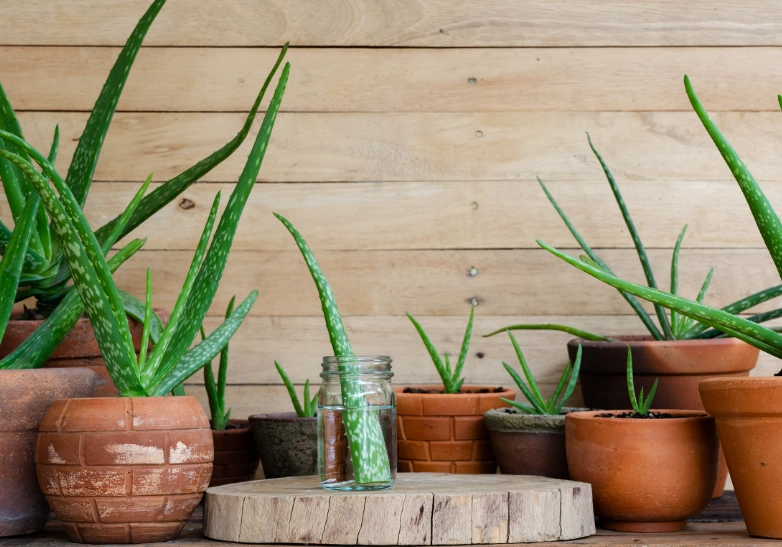
People love water propagation because you can see the roots grow. It's satisfying. Place your calloused cutting in a jar of room-temperature water, ensuring at least one node is submerged. No leaves should be underwater.
Put the jar in bright, indirect light. Change the water every 5-7 days to keep it fresh and oxygenated. You should see little white nubs (root initials) within 2-4 weeks. Wait until the roots are at least 1-2 inches long before potting up.
Here's the catch nobody talks about: Water roots are different from soil roots. They're more fragile. When you transfer a water-rooted cutting to soil, it often goes through "transplant shock" as it has to grow new roots adapted to soil. Some cuttings struggle with this transition. Don't be alarmed if a leaf or two yellows after potting—it's adjusting.
Rooting Directly in Soil: The One-Step Method
This method skips the water transition phase. Dip the calloused end of your cutting in rooting hormone, tapping off the excess. Plant it in your pre-moistened perlite/peat mix. Firm the soil gently around the stem.
Create a mini greenhouse. Place a clear plastic bag over the pot, using chopsticks to keep the plastic from touching the leaves. This boosts humidity, which is critical since the cutting has no roots to take up water.
Keep the soil lightly moist, not soggy. Place it in warm, bright, indirect light. Resist the urge to tug on the cutting to check for roots. Instead, look for new leaf growth—that's your surefire sign it has rooted. This can take 4-8 weeks.
Method 2: Air Layering (The High-Success Secret)
If you're nervous about killing a cutting, or if you want to propagate a large, leggy branch, air layering is your best friend. It sounds fancy, but it's simple. You encourage the stem to root while it's still attached to the mother plant. This means it continues to receive water and nutrients, drastically reducing failure rates. It's my go-to method for valuable or large plants.
Step-by-Step:
- Choose a spot on a healthy stem. Make an upward diagonal cut about one-third of the way through the stem, just below a node.
- Dust the wound with rooting hormone.
- Take a handful of pre-soaked sphagnum moss, squeeze out the excess water, and pack it around the cut. You want a moist ball about the size of a small apple.
- Wrap the moss ball tightly with clear plastic wrap. Secure the top and bottom with twist ties or string, creating a sealed, humid environment. Make sure it's snug but not cutting into the stem.
- Wait. Check occasionally to ensure the moss stays moist (use a syringe to add water if it dries). In 1-3 months, you'll see a network of roots visible through the plastic.
- Once the roots look substantial, cut the stem below the new root ball. Remove the plastic and pot up your new plant, moss and all.
The mother plant will often send out new growth from just below where you made the cut, giving you a bushier plant as a bonus.
Method 3: Direct Soil Propagation (For the Bold)
This is essentially the soil cutting method but sometimes applied to single leaves with a bit of stem (a "leaf-bud cutting"). A leaf alone, without a node, will root but never produce a new plant—it will just sit there as a rooted leaf forever, which is pretty pointless. You must have that node.
Some experienced growers will simply stick a treated cutting into the same pot as the mother plant to create a fuller look. This works if you're confident in your watering skills, as the moisture needs of a rooted plant and an unrooted cutting are different.
The Waiting Game: Aftercare & Rooting Signs
Patience is the hardest part. Your job is to provide consistent conditions.
- Light: Bright, indirect light. No direct sun, which will cook your cutting.
- Temperature & Humidity: Warmth (70-75°F is ideal) and high humidity are key. That's why the plastic bag or dome is so important.
- Watering: For soil, keep it lightly moist. Think "damp sponge," not "wet swamp." Overwatering is the fastest killer.
How do you know it worked?
- New growth: A tiny leaf emerging from the stem tip or a node is the ultimate sign of success.
- Resistance: A very gentle tug on a soil-propagated cutting will meet slight resistance after a few weeks.
- Roots in view: For water or air layering, you can see them.
Common Mistakes & How to Dodge Them
I've made these so you don't have to.
Using a dull tool: A clean crush is worse than a clean cut. It damages plant tissues and opens the door to disease.
Not enough humidity: Cuttings lose water through their leaves but have no roots to replace it. Without a humidity dome, they wilt and die. The bag is non-negotiable for soil methods.
Checking too often: Constantly pulling up a cutting to check for roots breaks delicate new root hairs. Set it and forget it for a few weeks.
Wrong season: Propagating in low light and cool temperatures of winter is an uphill battle. Wait for spring.
Comments