Replanting aloe vera isn't just about moving it to a bigger pot. It's a reset button for its health. Get it right, and you'll have a vigorous plant producing pups for years. Get it wrong, and you might be dealing with a mushy, rotting mess in a matter of weeks. I've killed my share of aloes by being impatient or using the wrong soil, and that's exactly why I'm writing this guide—so you don't have to learn the hard way.
In This Article
5 Clear Signs Your Aloe Vera Needs a New Home
Don't repot on a calendar schedule. Repot when the plant tells you to. Here are the unmistakable signals.
It's top-heavy and tipping over. This is the most obvious one. The mass of the plant, especially if it has lots of pups, is greater than the pot's ability to anchor it. It looks awkward and risks snapping at the base.
Roots are crawling out of the drainage holes. A few roots peeking out is normal exploration. A dense, tangled mat of roots forcing their way out is a cry for help. The root system has exhausted the available space.
Water runs straight through the pot. When you water, it immediately pours out the bottom without the soil absorbing much. This means the root ball has taken over, leaving little room for soil to hold moisture and nutrients.
Growth has completely stalled. Your aloe hasn't produced a new leaf in months, or the new leaves are significantly smaller than the old ones. It's root-bound and can't support further growth.
The soil has degraded or compacted. Over time, organic matter in potting mix breaks down. The soil becomes dense, loses aeration, and holds water for too long—a perfect storm for root rot. If it looks more like mud than loose soil, it's time.
Timing Tip: The absolute best time to replant aloe vera is in the spring or early summer. This gives the plant the entire active growing season to recover from the transplant shock and establish new roots. You can do it in fall if you're in a warm climate, but avoid winter unless it's an emergency (like severe rot).
Gathering Your Tools: The Right Pot and Soil Mix
This is where most beginners fail. Using regular garden soil or a pot without a hole is a death sentence.
Choosing the Perfect Pot
Material: Terracotta or unglazed clay is the gold standard. It's porous, allowing the soil to dry out evenly and preventing soggy roots. Ceramic or plastic pots are fine only if they have excellent drainage and you're very careful with watering.
Size: This is crucial. Only go up 1-2 inches in diameter from the current pot. A pot that's too large holds excess moisture around the small root ball, inviting rot. For example, move from a 4-inch pot to a 6-inch pot, not a 10-inch one.
Drainage: Non-negotiable. At least one large drainage hole. No holes? Don't use it. Drill one or choose another pot.
Mixing Your Aloe's Ideal Soil
Aloe vera is a succulent. It needs fast-draining, gritty soil. A standard “cactus and succulent mix” from the store is a good start, but I always amend it. Here’s my go-to recipe:
- 50% Commercial Cactus & Succulent Potting Mix (like Miracle-Gro or Espoma's brand).
- 30% Perlite or Pumice for aeration and drainage. Perlite is cheaper and works fine.
- 20% Coarse Sand (horticultural sand, not beach sand). This adds weight and improves texture.
Mix it thoroughly in a bucket. It should feel loose and gritty, not dense or fluffy.
The Step-by-Step Replanting Process
Let's get our hands dirty. Plan for this to take about 30 minutes.
Step 1: The Dry Prep
Do not water your aloe for at least a week before repotting. Dry soil falls away from roots more easily, and dry roots are less brittle and prone to damage. This is my number one pro-tip that most guides don't stress enough.
Step 2: Gentle Extraction
Lay the pot on its side. Gently squeeze the flexible pot or tap the sides of a rigid one. Support the base of the plant with your fingers and slowly coax it out. Never pull by the leaves. If it's truly stuck, you can run a butter knife around the inside edge of the pot.
Step 3: Root Inspection and Surgery
This is the diagnostic phase. Gently loosen the root ball with your fingers. Shake off the old soil.
- Look for healthy roots: firm and light-colored (white or tan).
- Look for bad roots: mushy, dark brown or black, and they'll often smell foul. These are rotten.
Using clean, sharp scissors or pruning shears, cut away all the rotten roots. Don't be shy—leave only healthy tissue. If you find any pests, rinse the roots lightly with water.
Step 4: Dividing the Pups (Optional but Rewarding)
See those smaller plants attached to the mother? Those are pups. You can leave them attached for a fuller look, or separate them to create new plants.
To separate, find where the pup connects to the mother. Often, they'll have their own small root system. Use a clean knife to make a clean cut, ensuring the pup keeps some roots. Let the cut end callous over (dry and form a scab) for 24-48 hours before planting it in its own small pot. This prevents rot.
Step 5: The Actual Replanting
- Place a piece of broken pottery or a coffee filter over the drainage hole to keep soil in.
- Add a 1-2 inch layer of your fresh soil mix to the bottom of the new pot.
- Position your aloe in the center. The base of the lowest leaves should sit about 1 inch below the pot's rim.
- Hold the plant steady and start backfilling with your soil mix. Gently tap the pot on the table to settle the soil—don't pack it down hard.
- Stop when the soil level reaches the base of the leaves. Do not bury the green stem or leaves. This is a common rot invitation.
Critical Post-Repotting Care (Most People Mess This Up)
Here's the paradox: you've just disturbed the roots, so the plant can't take up water effectively. Yet, everyone's instinct is to water it. Resist.
Step 1: The Waiting Game. Do not water your newly potted aloe vera for 5 to 7 days. Place it in bright, indirect light (not direct sun yet). This dry period allows any tiny root injuries to callous over, sealing the door against soil-borne fungi.
Step 2: The First Water. After the wait, give it a thorough soak. Water until it runs freely from the drainage hole. This encourages roots to grow downward. Then, let it drain completely.
Step 3: The Recovery Period. Keep it in that bright, indirect light for another 2-3 weeks. You might see some lower leaves thin out or brown slightly—this is normal shock. Only after this period should you gradually move it back to its preferred spot with more direct sunlight.
Here’s a quick reference table for the care shift:
| Aspect | Before & During Repotting | First Month After Repotting |
|---|---|---|
| Watering | Completely dry soil. | Water only once after 1 week, then wait until soil is fully dry. |
| Light | Normal light. | Bright, indirect light only. No harsh sun. |
| Fertilizer | None. | Absolutely none. Wait at least 2 months. |
| Handling | Necessary for repotting. | Leave it alone. Don't move or probe it. |
Troubleshooting & Your Questions Answered
My aloe vera leaves are soft and droopy after repotting. Did I kill it?
Probably not, but it's stressed. Soft leaves post-repotting usually mean one of two things: 1) You watered too soon (root rot is setting in), or 2) The roots are damaged and can't take up water yet, so the plant is using its leaf reserves. If you watered immediately, stop. Let the soil dry out completely and hope it recovers. If you waited a week, it's likely just shock. Give it consistent, bright indirect light and be patient. Don't water again until the soil is bone dry.
How do I deal with a tall, leggy aloe vera when repotting?
This is a common issue from low light. You have two options when repotting. First, you can simply plant it deeper, burying part of the long stem. Make sure you remove any leaves that would be buried. Let the stem callous for a day before planting. Second, you can behead it. Cut the top rosette off, leaving a few inches of stem. Let it callous for a week, then plant it as a new plant. The old stem will often sprout new pups.
Can I use the leaves from a repotting accident?
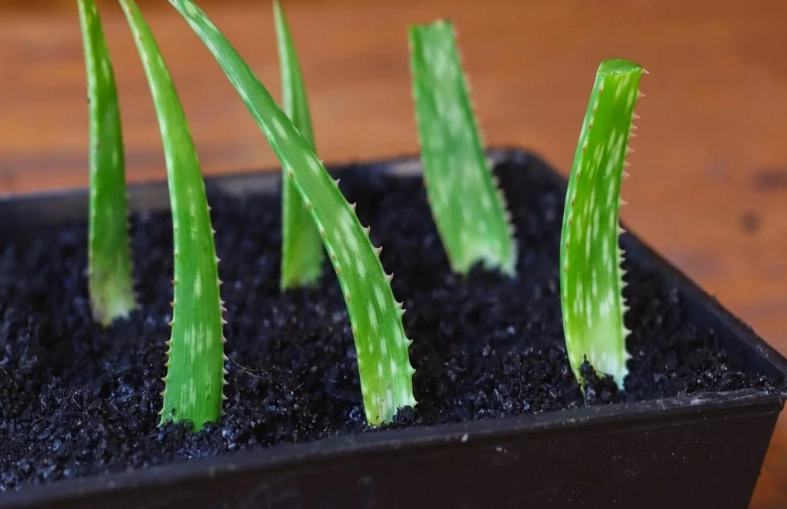
If a leaf snaps off cleanly, you can try to use the gel for skincare. However, a broken leaf will not grow into a new plant. Aloe vera propagates from pups (offsets) or stem cuttings, not from individual leaves. They lack the necessary meristematic tissue and will just rot if you try to plant them.
The roots were completely pot-bound and tangled. Did I damage them by pulling them apart?
Some damage is inevitable and okay. It's better to gently tease them apart than to leave them in a tight knot, which will continue to girdle themselves. The key is doing it when the roots are dry (less brittle) and using your fingers, not tools. After the 5-7 day dry period, the plant will focus energy on repairing these points and growing new feeder roots into the fresh soil.
What's the biggest mistake you see people make with replanting aloe?
Hands down, it's the combination of using a pot that's too big and watering too soon (or too often) afterward. The oversized pot acts like a wet blanket around the small root ball, and the damaged roots can't handle the moisture. This creates a perfect, stagnant environment for root rot fungi. Sticking to a pot only slightly larger and enforcing that initial dry period prevents 90% of post-repotting fatalities.
Replanting aloe vera is simple, but the details matter. It's not about brute force; it's about timing, the right materials, and a lot of patience afterward. Listen to your plant, give it what it actually needs (not what you think it needs), and you'll be rewarded with a resilient, thriving succulent that's as useful as it is beautiful.

Comments