You've noticed your aloe vera looking a bit cramped, maybe leaning over the edge of its pot, or the soil just doesn't absorb water like it used to. The thought of repotting it crosses your mind, followed immediately by a wave of anxiety. What if you damage the roots? What soil do you even use? I've been there. I've also killed a perfectly good aloe by repotting it wrong years ago. Let's not do that. Repotting an aloe vera isn't just about giving it more space; it's a critical refresh that can be the difference between a plant that survives and one that thrives. Done correctly, it's simple, fast, and incredibly rewarding. This guide strips away the confusion and gives you the exact steps, materials, and insider knowledge you need to do it right.
What's Inside This Repotting Guide
Why Repotting is Crucial for Aloe Vera Health
Think of repotting like moving from a cramped, stuffy apartment to a well-ventilated house with a garden. It's not just about space. Over time, the potting mix breaks down, becoming compacted. This compaction is a silent killer—it prevents air from reaching the roots and turns your well-draining soil into a sponge that holds water for days. Aloe roots hate that. They're built for arid conditions and need to dry out completely between waterings. Fresh soil restores that essential drainage and aeration.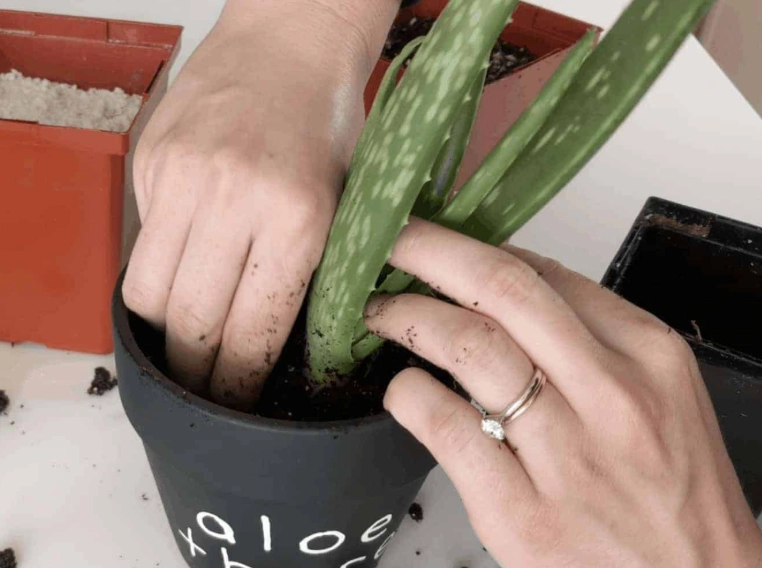
Then there's the nutrient factor. While aloes aren't heavy feeders, the nutrients in the original potting mix are eventually depleted. Fresh soil provides a gentle, natural boost. Finally, repotting gives you a chance to inspect the root system. You can remove any dead or rotting roots (often caused by that old, soggy soil) before they become a bigger problem. It's preventive healthcare for your plant.
When to Repot: Spotting the 5 Key Signs
Don't wait for your aloe to look miserable. Repotting is best done as proactive care. Here are the clear signals it's time:
The Pot is Busting at the Seams: This is the most obvious one. You see roots growing out of the drainage holes, or the plant itself has become so top-heavy it's constantly tipping over. The main plant (the "mother") might be surrounded by a tight cluster of baby plants (pups), leaving no room for anything.
Water Runs Straight Through: You water the plant, and the liquid immediately flows out the bottom without the soil absorbing much. This means the soil has become hydrophobic—it actually repels water—and the root ball is too dense.
The Soil Looks Exhausted: The potting mix has degraded into a hard, cracked, or sandy-looking substance. It might even be pulling away from the sides of the pot.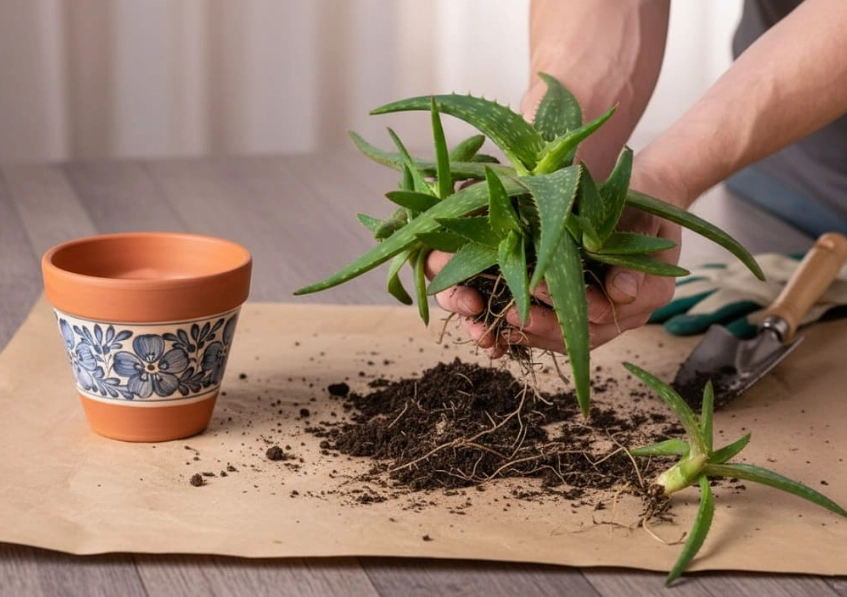
Stunted Growth: Your aloe hasn't produced a new leaf in what feels like forever, even during its active growing season (spring and summer).
You Just Bought It: Store-bought aloes are often in cheap, moisture-retentive soil to reduce watering frequency in the store. Repotting it into a proper mix within a few weeks is one of the best things you can do.
Best Time of Year: Aim for late spring or early summer. This is when the plant is actively growing and can recover from the stress of repotting most quickly. You can repot in other seasons if necessary (like for an emergency due to rot), but recovery will be slower.
Gathering Your Supplies: The Right Pot & Soil Mix
Getting these two things wrong is where most repotting failures happen. Let's get them right.
Choosing the Perfect Pot
Material Matters More Than You Think: Terracotta or unglazed clay pots are the gold standard for aloe vera. Why? They're porous, which allows the soil to dry out from the sides as well as the top and bottom. This mimics their natural, dry environment perfectly. A plastic or glazed ceramic pot will hold moisture much longer, increasing the risk of overwatering. If you love the look of a ceramic pot, use it as a cache pot—keep the aloe in a plain terracotta pot inside the decorative one.
Size is Critical: The biggest mistake is choosing a pot that's too large. Aloes like to be slightly root-bound. Only go up 1-2 inches in diameter from the current pot. A pot that's too big holds excess soil, which stays wet for too long and can lead to root rot. For example, if your aloe is in a 4-inch pot, move it to a 5 or 6-inch pot at most.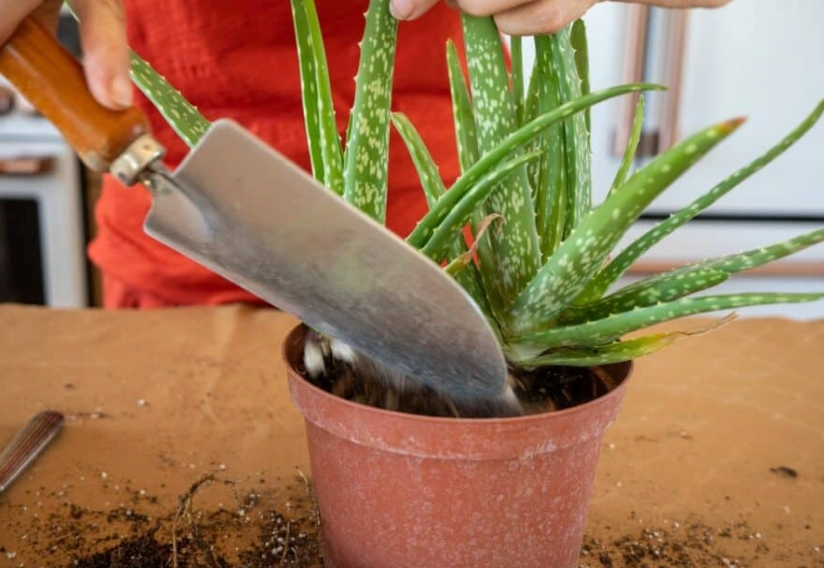
Drainage is Non-Negotiable: The pot must have at least one drainage hole. No exceptions. If your dream pot doesn't have one, drill one yourself.
Crafting the Ideal Soil Mix
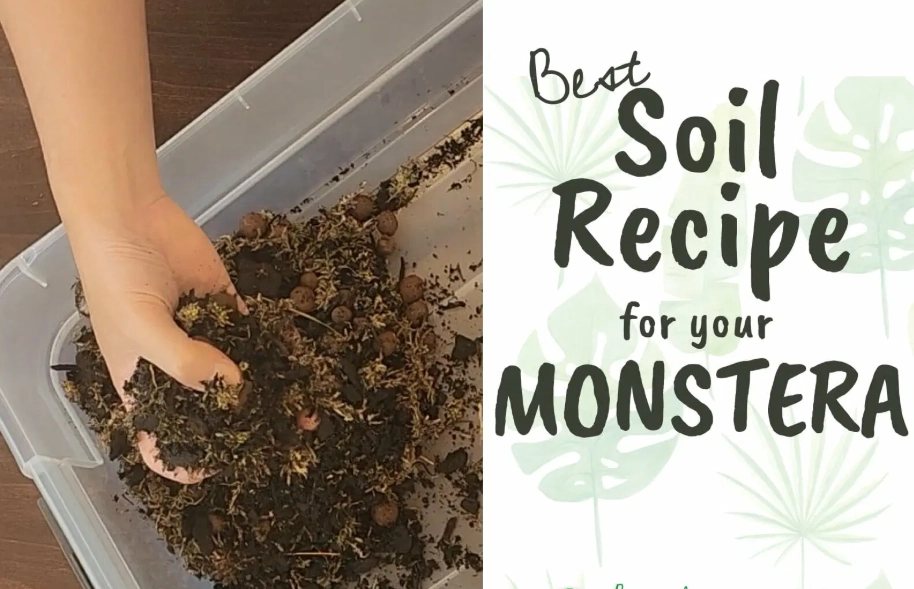
This is the secret sauce. Regular potting soil is too dense and moisture-retentive for aloes. You need a fast-draining, gritty mix. Here’s a simple, effective recipe:
- 2 parts All-Purpose Potting Soil: This provides structure and some nutrients.
- 1 part Coarse Sand or Poultry Grit: This adds drainage and prevents compaction. Don't use fine play sand—it can clog the soil.
- 1 part Perlite or Pumice: These are lightweight minerals that create air pockets, improve drainage, and keep the mix fluffy.
Mix these thoroughly in a bucket. If you want a foolproof, ready-made option, look for a commercial "Cactus & Succulent" potting mix. Even with these, I often add an extra handful of perlite to be sure.
| Soil Component | Purpose | What to Avoid |
|---|---|---|
| Potting Soil (Base) | Provides organic matter & structure. | Soils labeled "Moisture Control" or "Water Retaining". |
| Coarse Sand / Grit | Adds weight, improves drainage dramatically. | Fine, dusty sand that turns to concrete. |
| Perlite / Pumice | Creates aeration, prevents compaction. | Using too little—be generous. |
Step-by-Step: How to Repot Your Aloe Vera
Alright, you've got your slightly larger terracotta pot and your gritty soil mix. Let's get our hands dirty.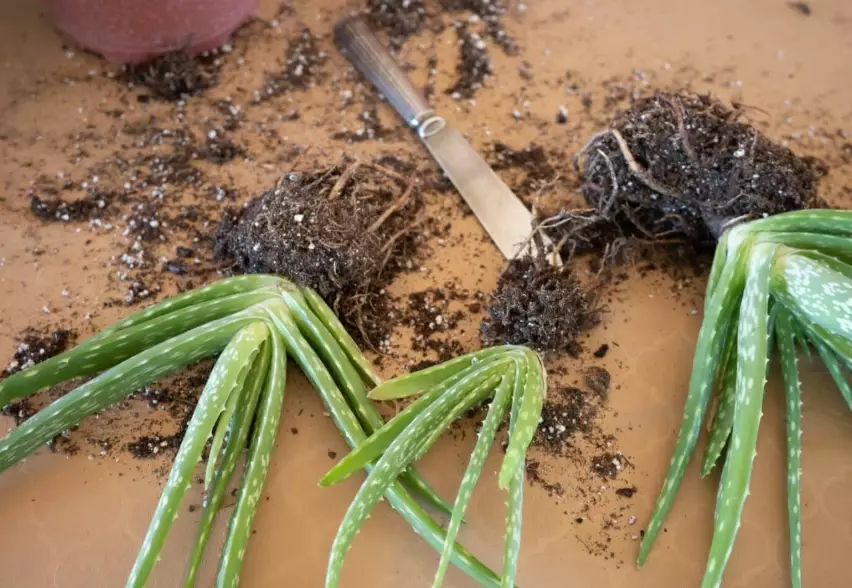
Step 1: The Dry Run. Do not water your aloe for at least a week before repotting. Dry soil is easier to work with, and dry roots are less fragile and more resistant to damage.
Step 2: Prep the New Pot. Place a piece of broken pottery, a coffee filter, or a mesh screen over the drainage hole to keep soil from washing out. Add a 1-2 inch layer of your fresh soil mix to the bottom.
Step 3: Gently Remove the Aloe. Tip the current pot on its side. Support the base of the plant with your fingers (the leaves can be spiky, so be careful) and gently squeeze or tap the pot to loosen the root ball. Ease the plant out. Never pull it by the leaves.
Step 4: The Root Inspection (The Most Important Step). This is where your 10-year-experience tip comes in. Gently loosen the old soil from the roots with your fingers. Don't be aggressive—just shake and pick away what falls off easily. Now, look closely. Healthy roots are firm and light-colored. Any roots that are mushy, black, brown, or stringy are rotten and need to go. Use clean, sharp scissors to snip them off. If you find a lot of rot, let the root ball air dry for a day before proceeding.
Step 5: Position and Fill. Place the aloe in the center of the new pot. The base of the plant (where the leaves meet the roots) should be about half an inch to an inch below the pot's rim. Holding it steady, start filling in around the sides with your fresh soil mix. Gently tap the pot on the table to settle the soil—don't press down hard, as compacting it defeats the purpose.
Step 6: The No-Water Pause. Here's the counterintuitive part that saves so many plants. Do not water your aloe immediately after repotting. Any minor root damage needs time to callous over. Watering right away invites rot. Place the repotted aloe in bright, indirect light and leave it completely dry for 5 to 7 days.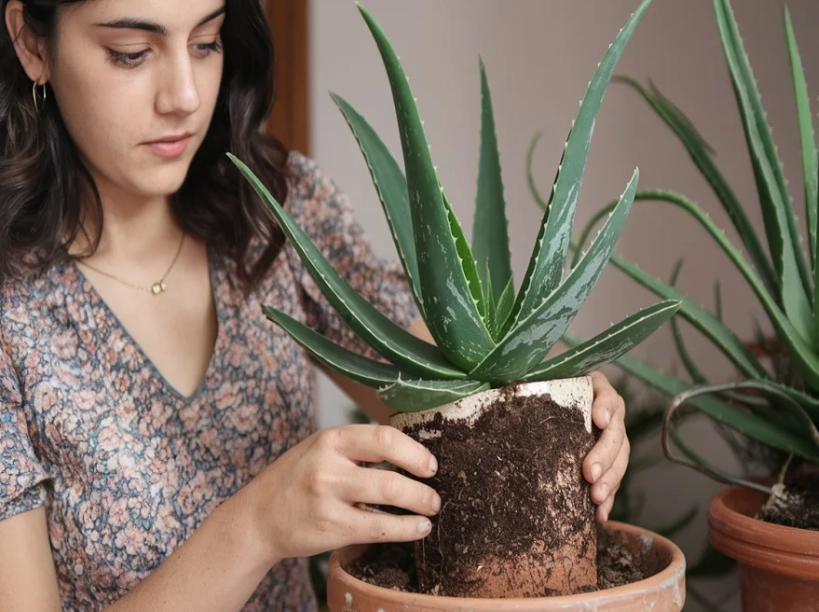
Watch Out: Your aloe's leaves may look a bit soft or wrinkled during this dry week. This is normal stress. Resist the urge to water. After the waiting period, give it a thorough soak, and the leaves will plump back up.
The Critical Aftercare (And The Biggest Mistake Everyone Makes)
After that first post-repotting watering, your main job is to not love it to death. The biggest mistake is resuming a normal watering schedule too quickly. The plant is re-establishing its roots in the new environment.
Wait until the soil is completely, 100% dry all the way through the pot before watering again. Stick your finger deep into the soil. For a terracotta pot, you can also lift it—a dry pot feels significantly lighter. This might mean waiting two, three, or even four weeks between waterings, especially in cooler months.
Keep it in bright, indirect light for at least two weeks. Direct, hot sun can add to the stress. After it shows signs of new growth (a plump, green center or a new leaf emerging), you can gradually move it back to its preferred sunny spot.
Hold off on fertilizer for at least 2-3 months. The fresh soil has enough nutrients. Fertilizing a stressed plant can burn the new roots.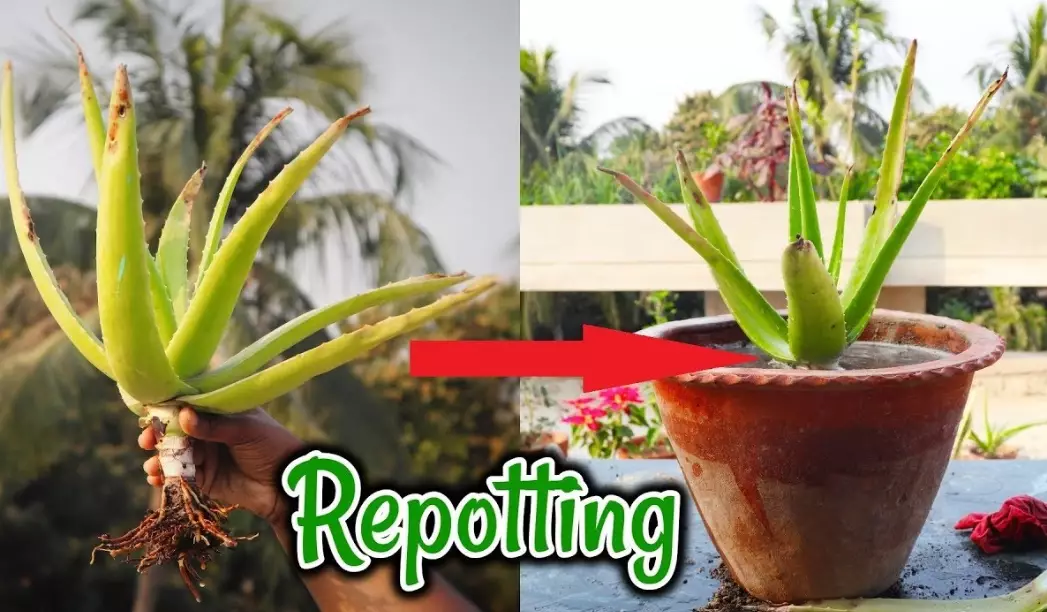

Comments